After Microsoft Office 365 or Exchange server is prepared for it (see separate articles) you are ready to connect Databeat Doorsign to the calendar account to view and display your Employees, Rooms and Resources (items).
.jpg)
Prerequisites.
- The "Service Manager" Account in Microsoft Office 365 or MS Exchange is correctly set up with a specific service manager, and the necessary rights are assigned.
- The "Service Manager" username and password to log in (You do this as part of the connect setup in Databeat Doorsign)
- Access to the DatabeatOMNI screen publishing platform. If you don't have an account, feel free to sign up for a trial.
Organizing your resources.
In "Office 365" you can create groups and assign users, rooms, and equipment (commonly referred to here as items) to it. If you have more than just a few items, we suggest using the Office 365 group feature to organize your items and locations. In DatabeatOMNI, these groups are used to select which to create one or more doorsigns for. If you have many items you can create Office Groups to access only the items you want to.
How (In DatabeatOMNI)
- Log in to DatabeatOMNI using your DatabeatOMNI username and password.
When you are in DatabeatOMNI, you will see three tabs, Media, Locations, and Users.
- Select the Locations tab, and pick the location on which you want to use your Databeat Doorsign.
A Location can be the headquarter (primary customer) or any other location the customer has added using the big + button. The selected location is highlighted (in yellow).
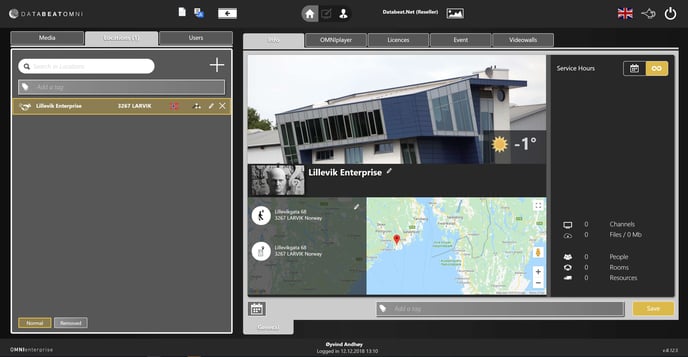
- Click on the "Calendar icon" (bottom left on the Info tab) to open Doorsign configuration.
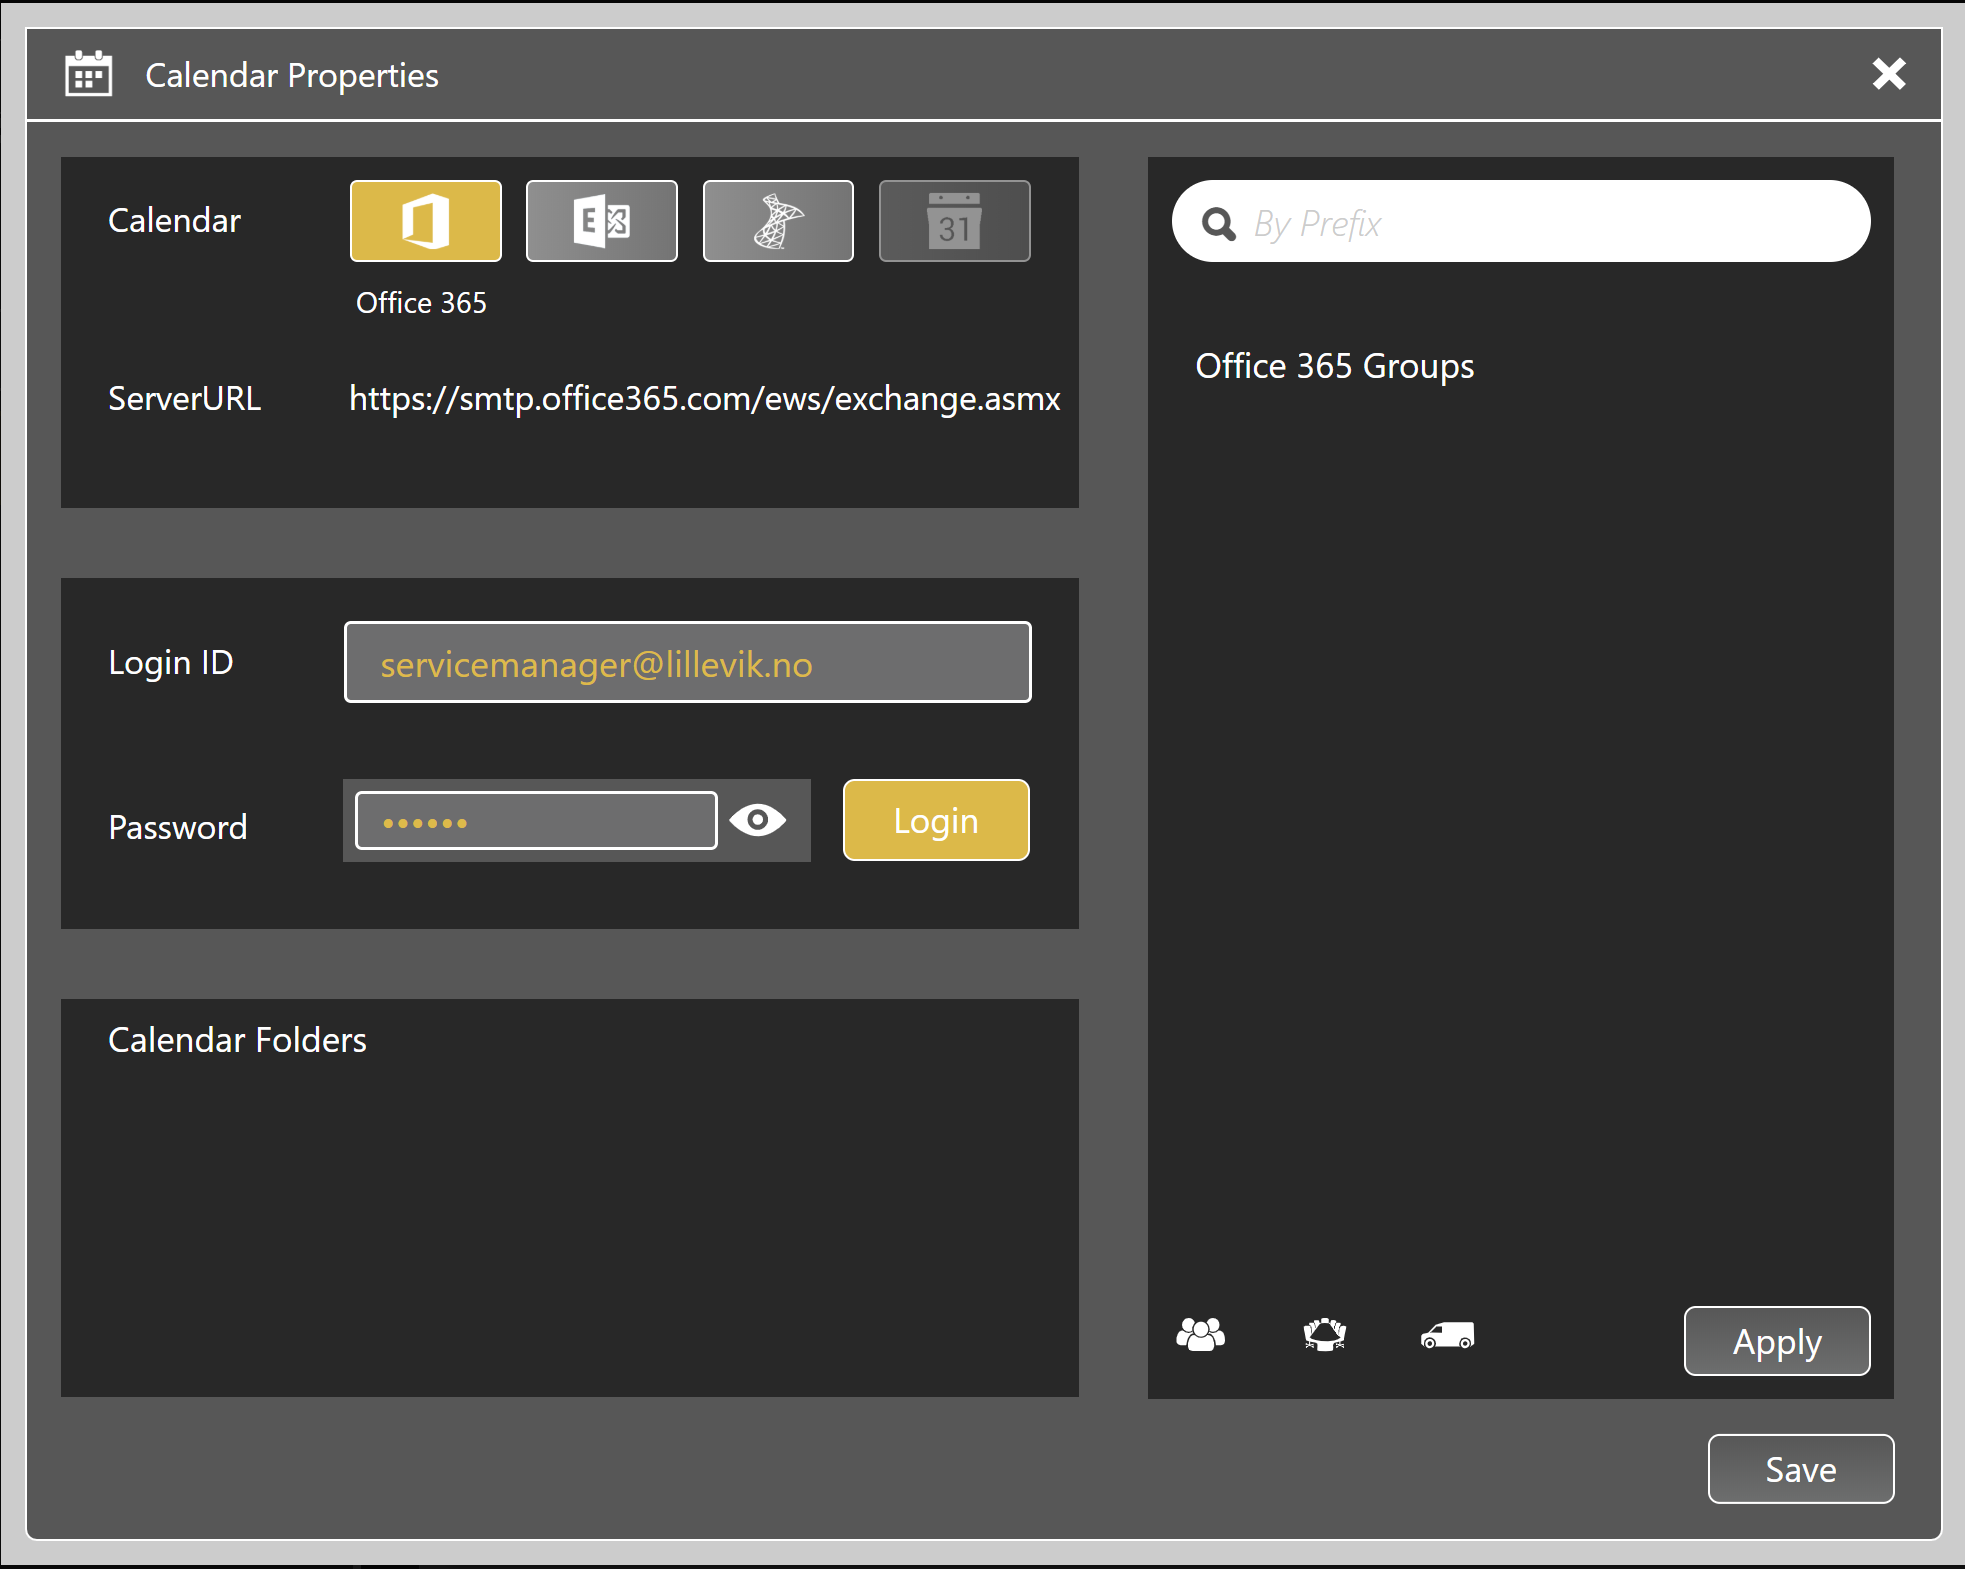
- Select the "calendar type" you want to use (i.e., Office 365)
- Add the Doorsign "Service Manager credentials" (username and password)
- Click the connect button.
DatabeatOMNI will connect to your Office 365 / Exchange servers. Your Office 365 groups will then be displayed in the list to the right.
- Select the Group you want to use and click "Apply." You will then see simple statistics showing the number of users, rooms, and equipment linked to the selected groups.
- Click "Save" to save and exit.