
Prerequisites
Use Microsoft Exchange Admin Centre only.
- You need access to the Exchange Admin Centre of your organization.
- You need to have enough rights to create a mailbox and assign the proper permissions and roles.
You need to
- Create the Databeat Doorsign mailbox
- Create a New Role group within admin roles with Application Impersonation and Mail Recipient roles.
- Modify Basic authentication of PowerShell virtual directory in IIS
- Give created Role access to Databeat Doorsign mailbox
- Give Databeat Doorsign mailbox access to relevant resources
- Configure DatabeatOMNI Exchange Server sync settings
When done, the created Doorsign mailbox will allow Databeat Doorsign to book, retrieve and display calendar information from your Exchange Server users, rooms and equipment. We strongly recommend naming this mailbox Databeat Doorsign (But it is not a requirement). You will need to set access permission to each resource to be used with Databeat Doorsign.
Info
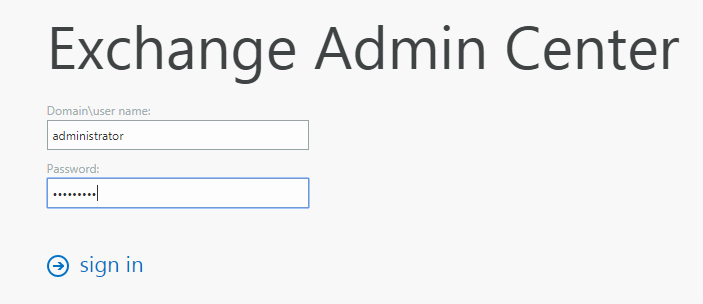
Log in to your organization Exchange Admin Centre.
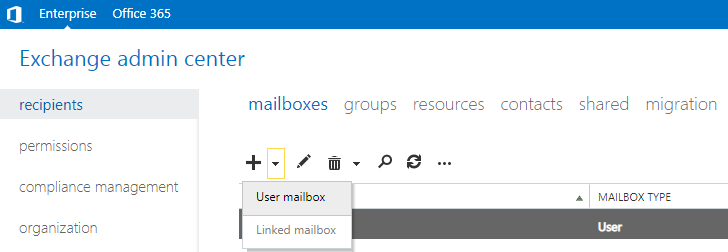
Step 1 - Create the Databeat Doorsign mailbox
- On the left side menu, select the recipients.
- Select the mailboxes tab.
- Click + and select the User mailbox.
- Add the required information.
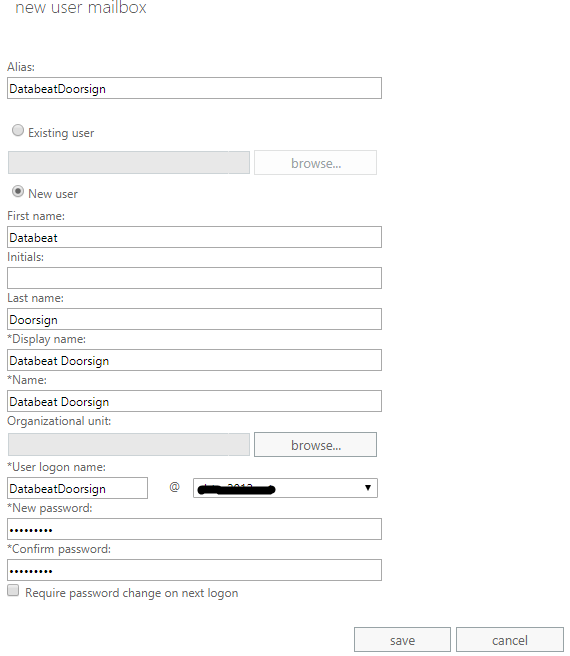
- Click Save.
Remember the User ID and password; it will be used to connect Exchange Server to DatabeatOMNI. Ensure that the information you add makes sense to other users.
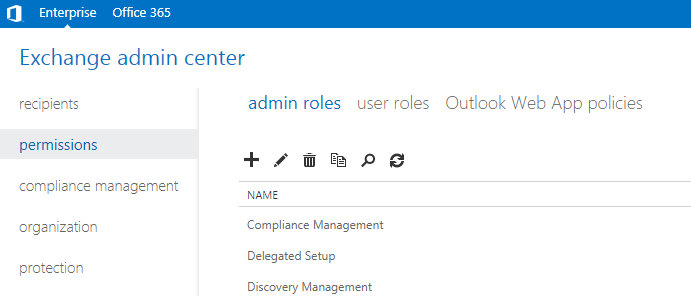
Step 2 - Create a New Role group within admin roles
- Continue in your organization Exchange Server.
- Select permissions on the menu.
- Select the admin roles tab.
- Click + to add a New Role group, for example, “DoorsignRole.”
- Click + in the Roles section.
- Add the Application Impersonation and Mail Recipients Roles and click OK.
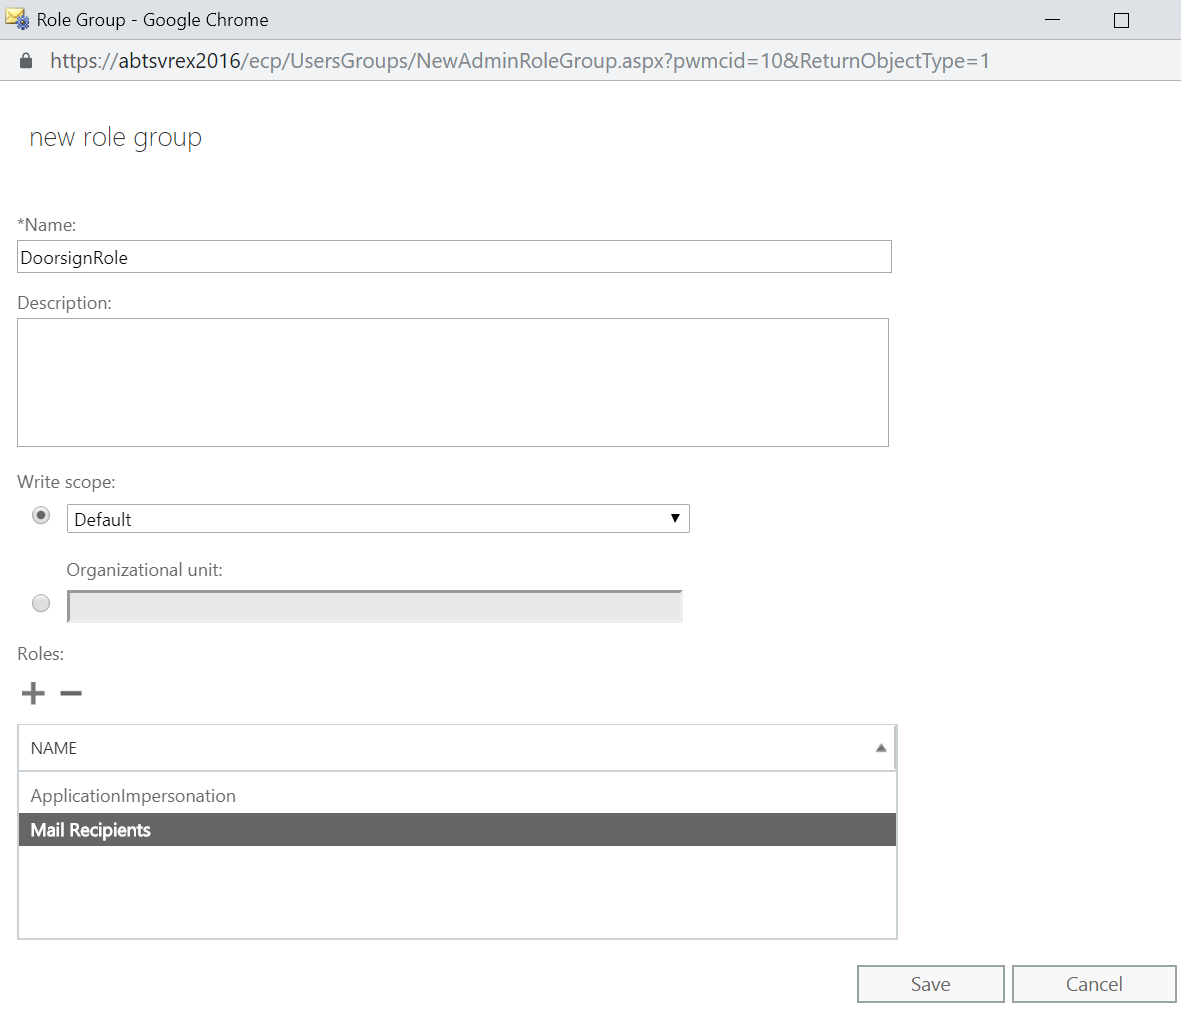
- Click Save after verifying the above roles.
Step 3 – Modify Basic authentication of the PowerShell virtual directory in IIS
- Modify the Basic Authentication setting of the PowerShell virtual directory from disabled to Enabled.
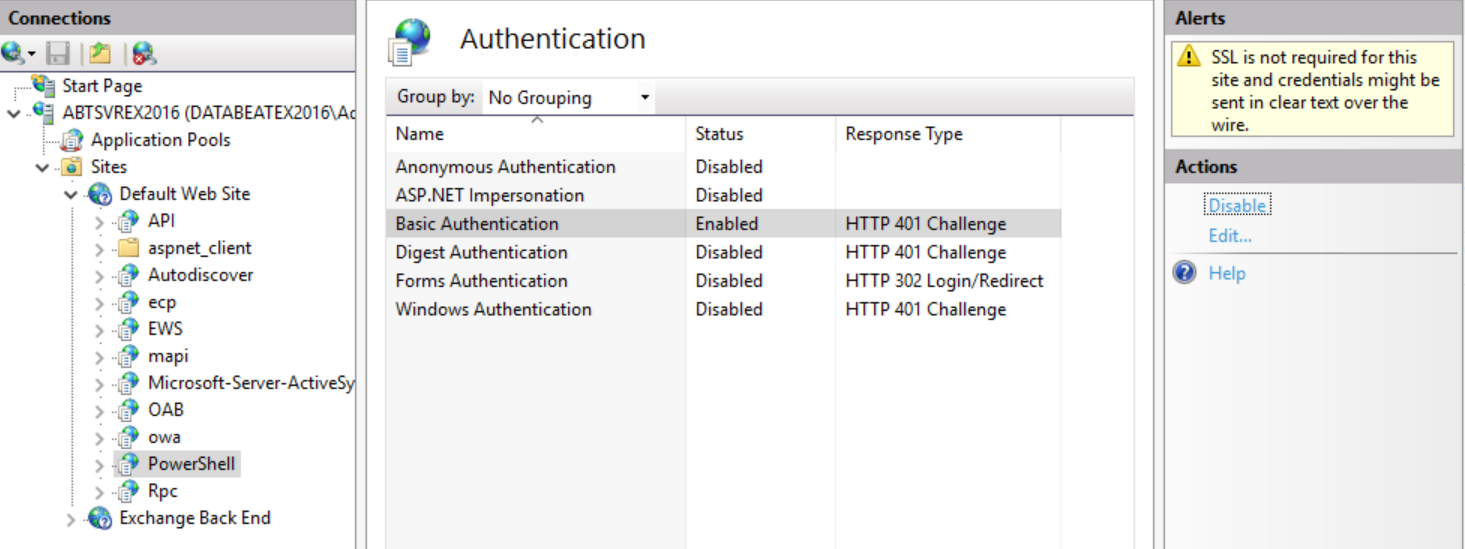
- Restart the web site using IIS Manager or perform an IISRESET /restart.
Step 4 – Give Created Role access
- Continue in your organization Exchange Server.
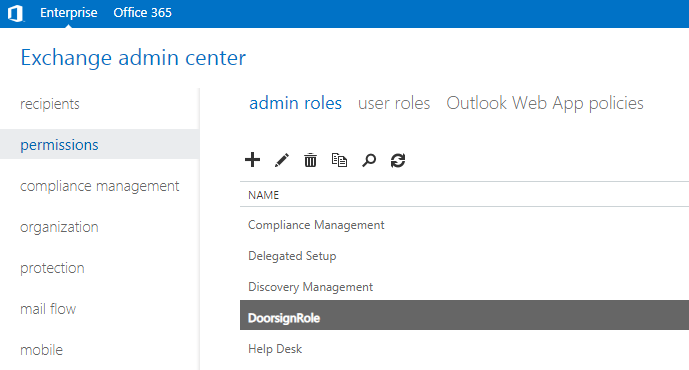
- Select permissions on the menu.
- Select the admin roles tab.
- Select Created Role. Double-click it or click on the pencil icon above to edit.
- Click+ in the Members section.
- Find and double-click your Databeat Doorsign mailbox created in Step 1.
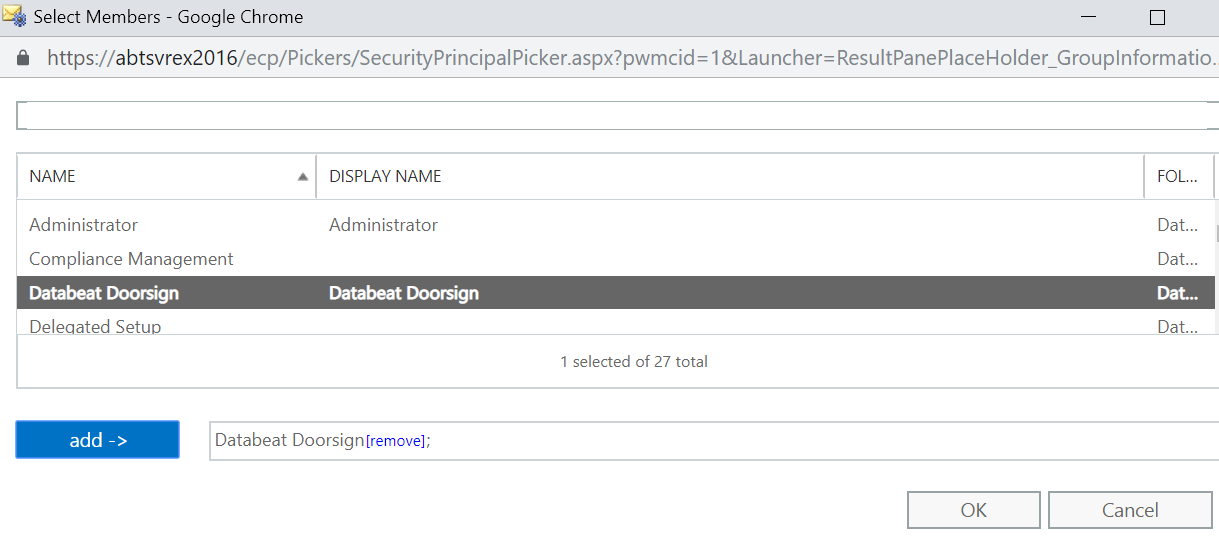
Click OK to add the new member.
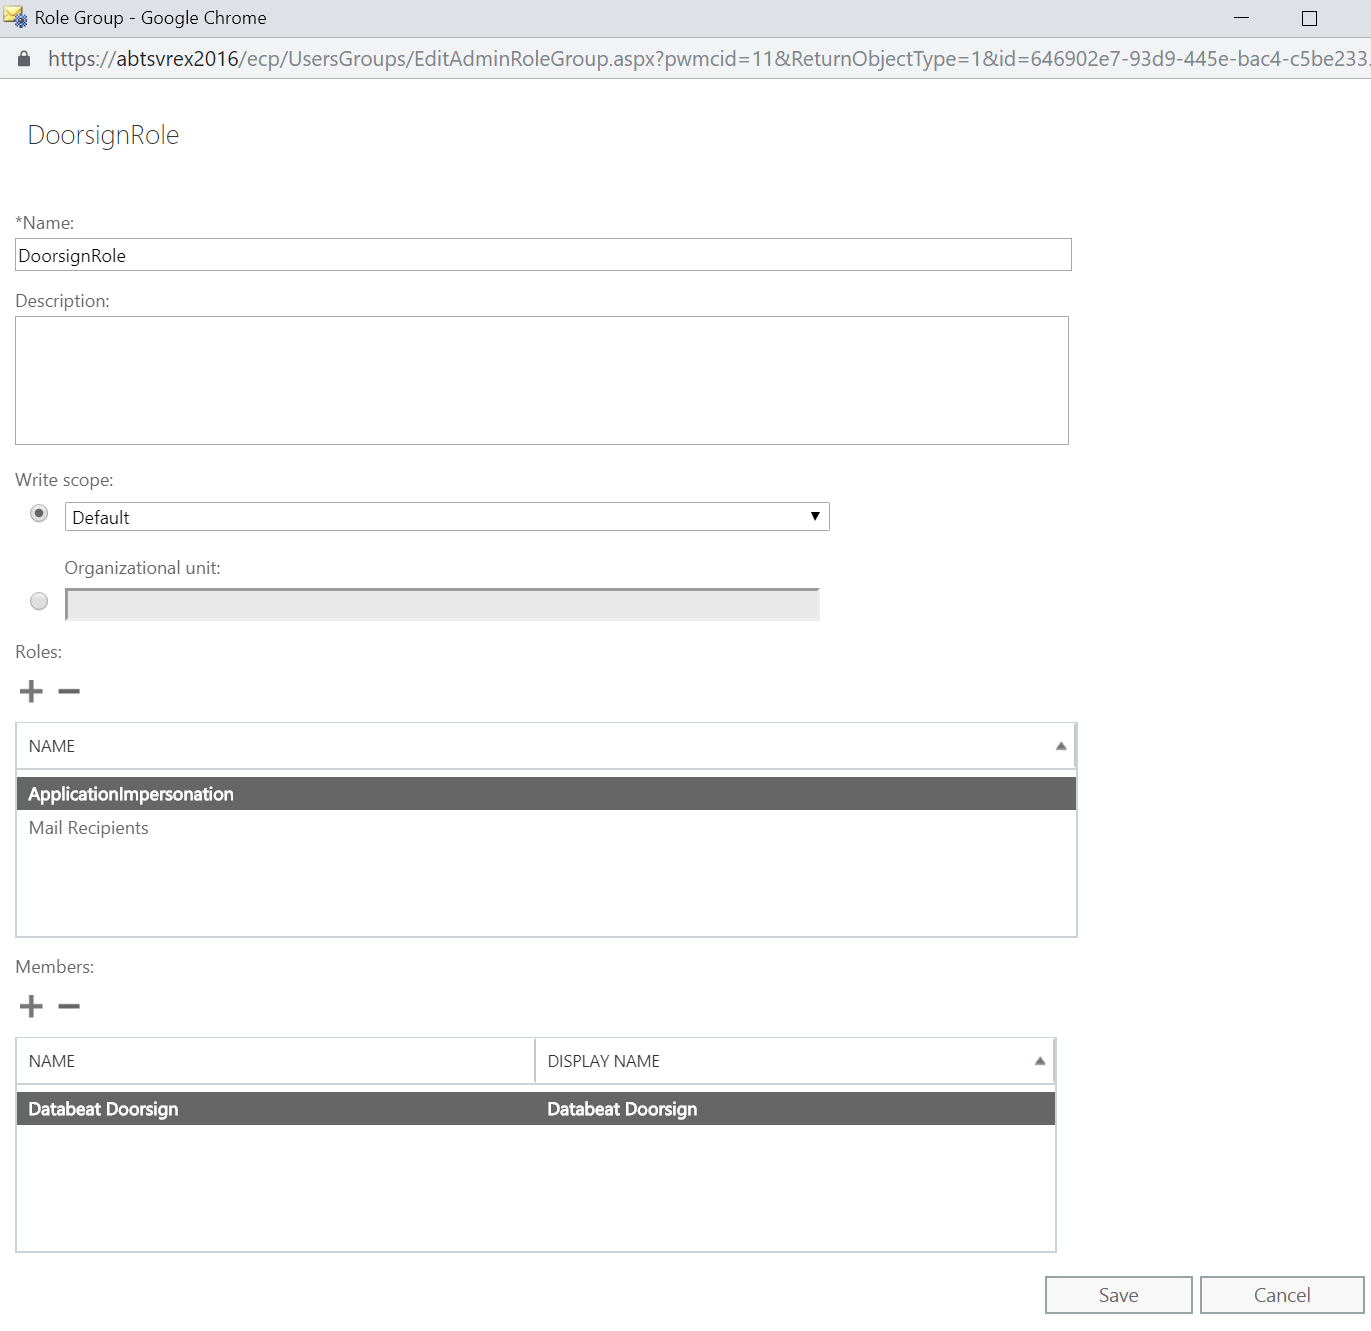
- Click Save after verifying that your Databeat Doorsign mailbox is listed under Members.
Step 5 - Give the user access to resources
To manage resources such as rooms or equipment, the Databeat Doorsign mailbox must have Full Access Permission to each relevant resource mailbox, both for rooms and equipment.
For this, there are two options either from Exchange Server UI (Exchange 2016 and above) or from PowerShell commands.
I. Exchange Server UI (Exchange 2016 and above)
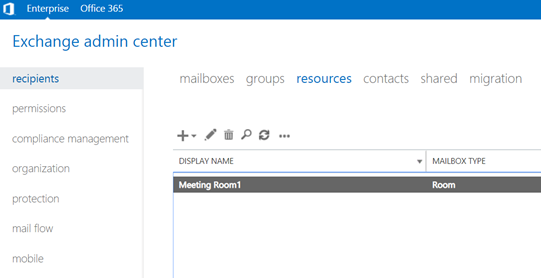
- Select recipients on the menu.
- Select the resources tab.
- Double-click the relevant resource you want to display with the Databeat Doorsign mailbox.
- Select mailbox delegation tab
- Click + in the Full Access section.
- Find and double-click your Databeat Doorsign mailbox created in Step 1.
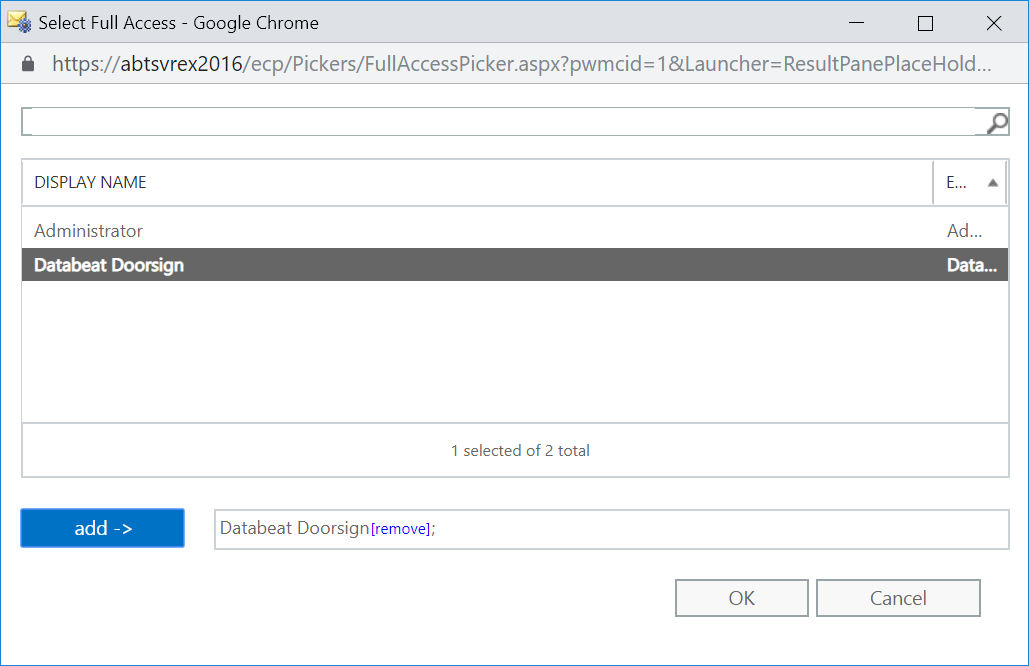
- Click OK to add the new member.

- Click Save after verifying that your Databeat Doorsign mailbox is listed under Full Access.
II. PowerShell commands
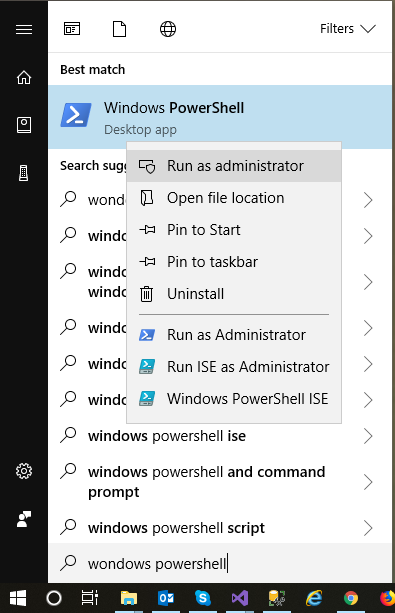
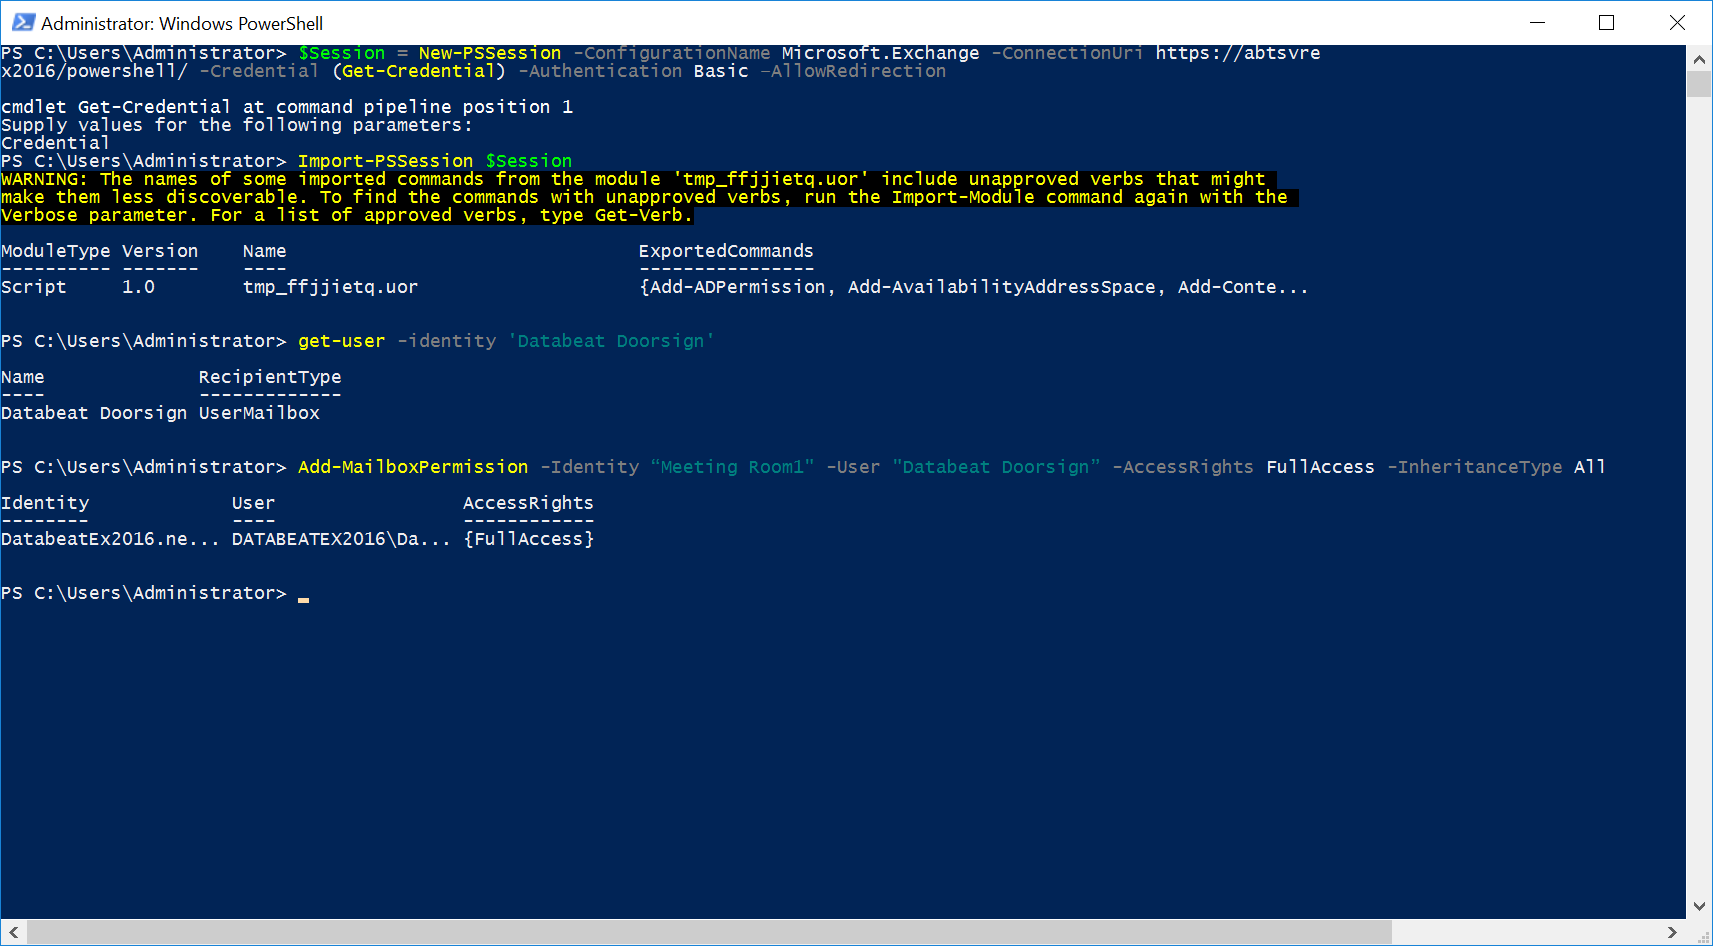
Log in to your Exchange Server with an administrator account and launch the Exchange Management Shell, re-place “Server-Name” with the exchange server name and execute below commands (step by step):
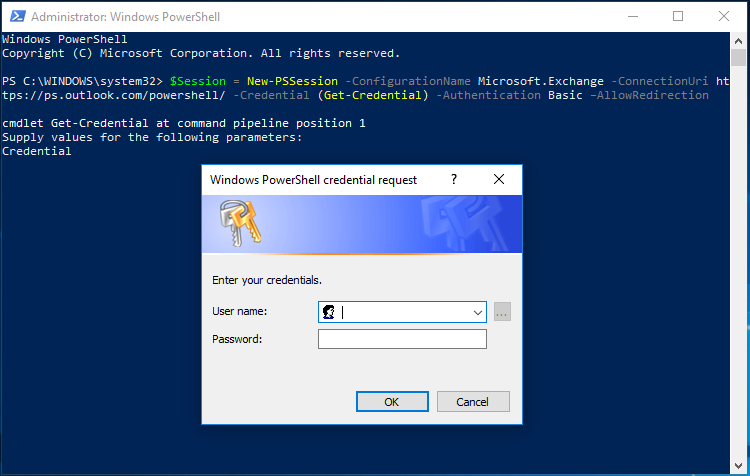
a. $Session = New-PSSession -ConfigurationName Microsoft.Exchange -ConnectionUri https://<Server-Name>/powershell/ -Credential (Get-Credential) -Authentication Basic –AllowRedirection
b. After command execution, a popup will display to enter the Exchange administrator credentials. After a successful login executes, the command mentioned in step c.
c. Import-PPSession $Session
d. To give full permission, place a valid resource name, i.e. “Meeting Room1” and mailbox name “Databeat Doorsign” before executing the below command:
Add-MailboxPermission -Identity “Meeting Room1" -User "Databeat Doorsign” -AccessRights FullAccess -InheritanceType All
Repeat this process for each Resource (Room and Equipment) to be used with Databeat Doorsign.
Please note that it may take up some time for any changes in access rights to reflect in your exchange server.
Step 6 - DatabeatOMNI Exchange Server sync setting
- Note the Exchange Server hostname for DatabeatONNI Exchange Server sync setting, i.e. “abtserver2016” is the hostname of our exchange server.
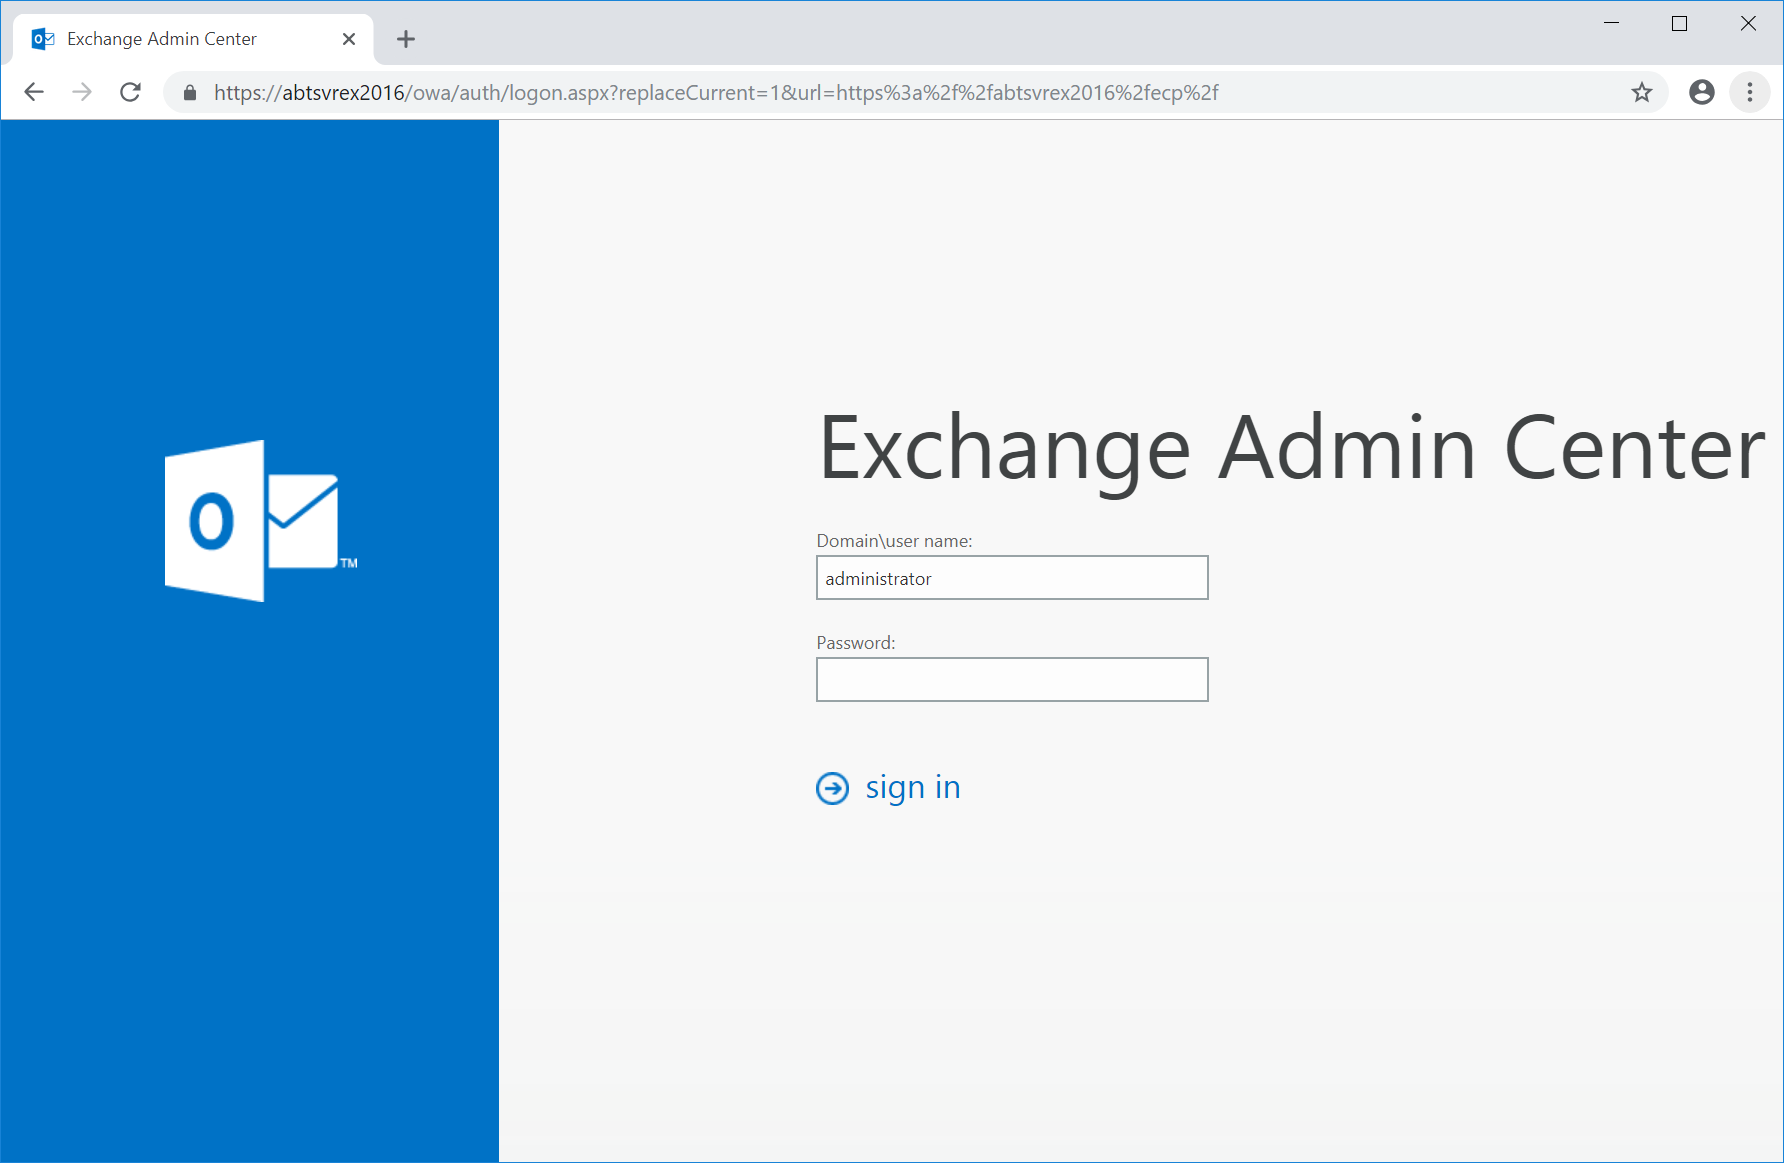
Select Doorsign calendar option to Exchange server and enter the Exchange server hostname within the input field, i.e. “abtserver2016”
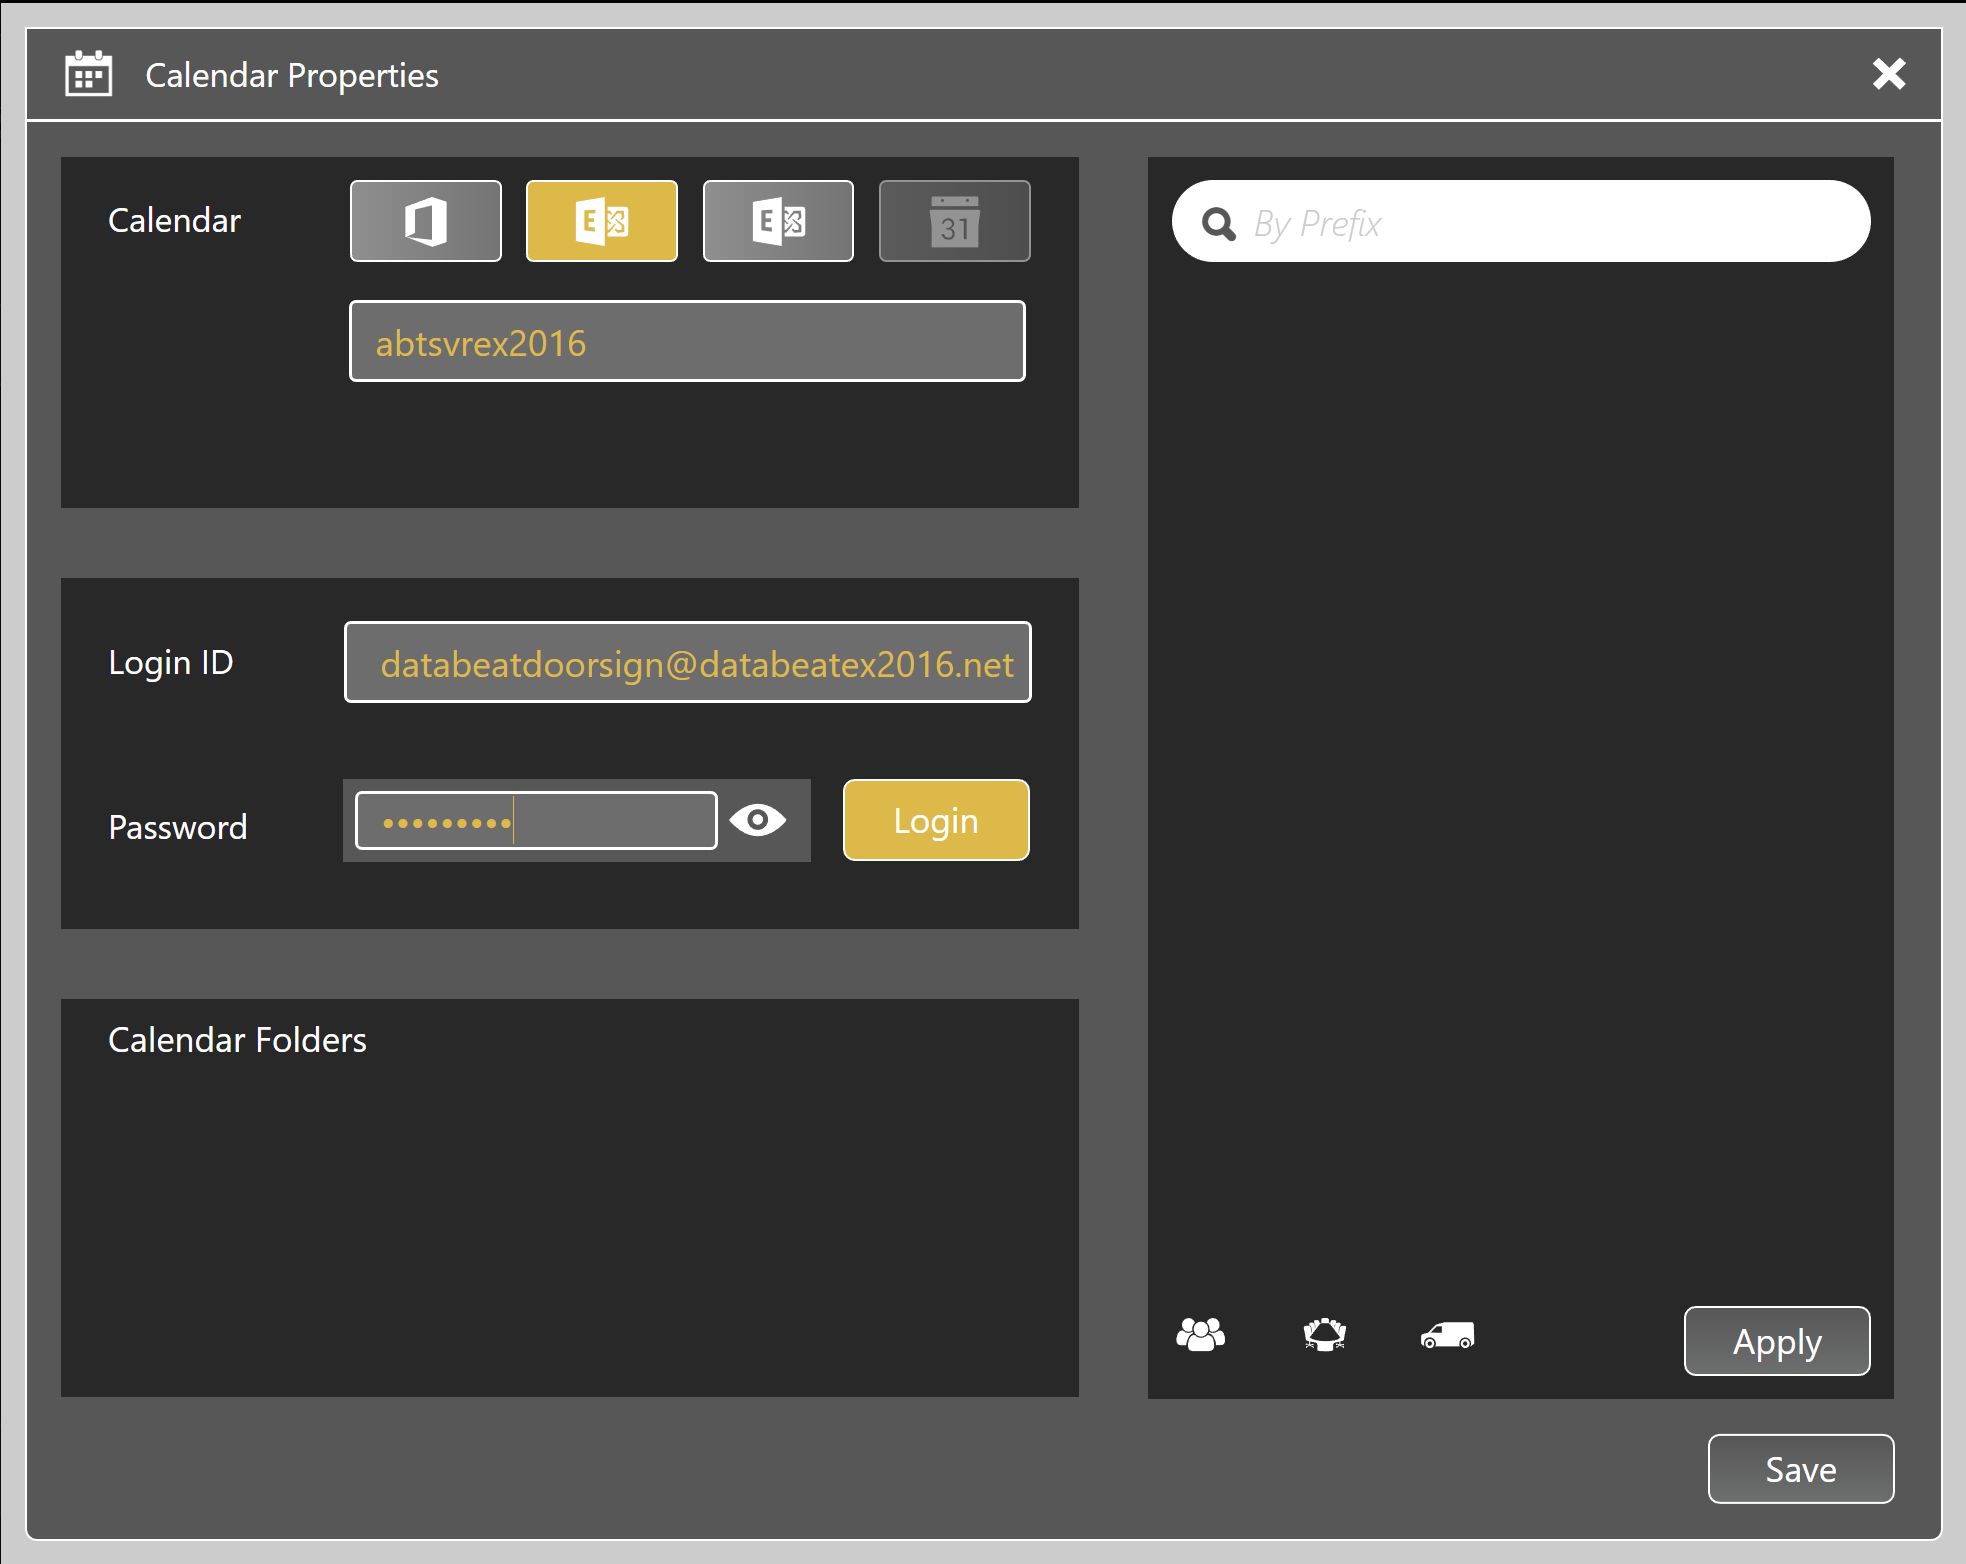
- Enter the Databeat Doorsign mailbox email address, i.e. databeatdoorsign@databeatex2016.net
- Click login to get the calendar folders from the exchange server.
- If needed, apply the filter option and click Save.
- Now you are synced with exchange resources (room and equipment) to prepare Doorsign.