In this article you will learn how to create a new user for access to DatabeatOMNI, how to restrict access with advanced user management available with the Signage Pro license and how to connect your DatabeatOMNI user to Microsoft 365 or Google.
Creating the user

- Click on Users
- Click "+" to create a new user
Start by filling out the information requested.
Tip: Using Third Party login?
When creating a user that logs in with Microsoft 365, Google, or other third-party options, it's important to note that DatabeatOMNI will automatically retrieve data from the selected third party at the first login.
The minimum requirement is the correct email (UPN) for the user-link to happen.
After a successful third party login DatabeatOMNI will delete the stored details and password - only storing the user's email as their username (UPN) and their name.
- The E-Mail (Login) will be the username when accessing DatabeatOMNI.
- Set a password for the user. The password can be changed when logging in, by a user with sufficient rights or with "Forgot Password?" from the login page.
- The name of the user. Will be displayed in the overview list.
- The title of the user. (Optional)
- The users phone number. (Optional)

Roles
Once the mandatory fields have been filled with information, we can move on to assign a role.

From top left and onwards
1. SuperUsers: Typically the first user signing up, and he/she has all and full rights.
You don't need to assign any of the other roles from 2 - 5 if the user has SuperUser. These roles has less access, and the highest value role will be decisive.
2. Administrators: Another user with all rights, expect, he/she cannot add create SuperUsers or other Admins, only users at a lower level
3. Editors: This is a user that is allowed to work with Media, create/add/edit/remove. Has “view only” rights on Users and Locations.
4. LocationManager: This is a user that is allowed to work with Locations, create/add/edit/remove etc. Has “view only” rights on Users and Media.
5. Contacts: This is a user that is not allowed access, but will be listed as a contact on a specific location (i.e. for support and assistance).
6. User: This is a user that is allowed access to DatabeatOMNI, but only to view on all dimensions.
7. Developer: This is a user that takes rights from groups above, in addition to access to template editor code writing (code widget, finn templates etc).
8. OMNIbi: This is a user that has access to the entire BI section and Dataset related to BI (including SLA and OMNIcontrol). It is a role that can be added to other groups (similar to Developer), but it can also be the only one.
9. OMNIsla: This is a user that has access only to the sla section. It is a role that can be added to other groups (similar to Developer), but it can also be left alone.
Office 365 & Google
If you're an Microsoft 365 or Google user we strongly recommend that you use your Microsoft 365 or Google login credentials with DatabeatOMNI. You can connect your DatabeatOMNI user with Microsoft 365 or Google at any time if you are using the same login username on both.
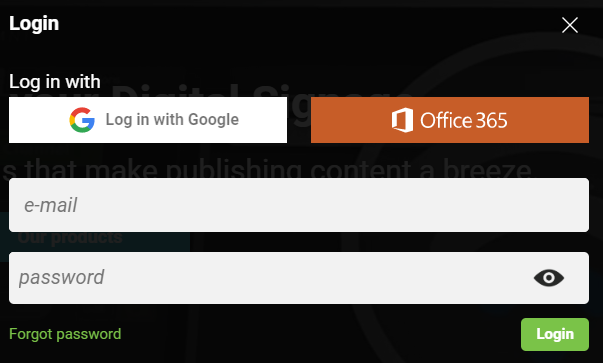
Once you've created the user in DatabeatOMNI you can select login through Microsoft 365 or Google from the login page the next time you log in to the service.

Restrict access
You can further restrict access on a user in addition to role assignments with Tags.
- Advanced User Manangement with tags requires Signage Pro
- A SuperUser cannot be restricted.

Add a tag to the user to limit and restrict their access in DatabeatOMNI. If the same tag is linked to a channel or location, the user will only be able to see the linked channel and location.
Other features
You can add a time sensitive period on a user by activating the setting Period. This will decide when the user has access to DatabeatOMNI.


